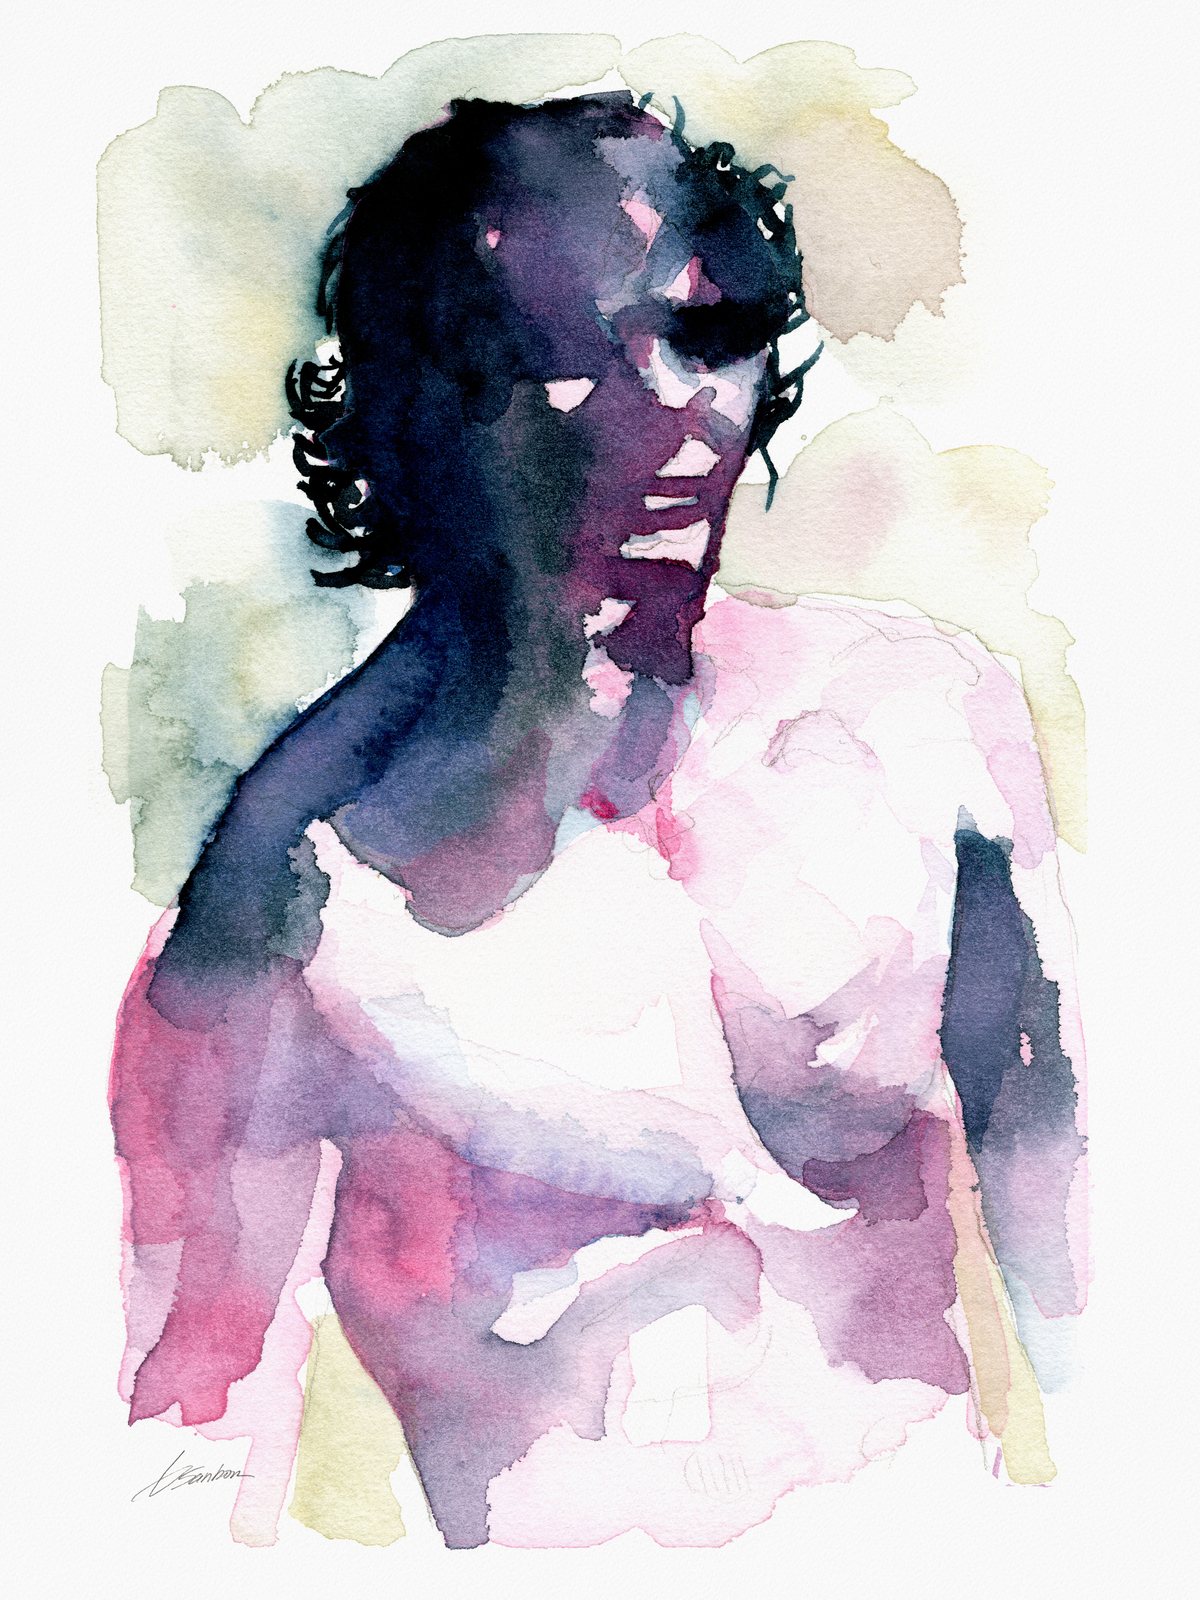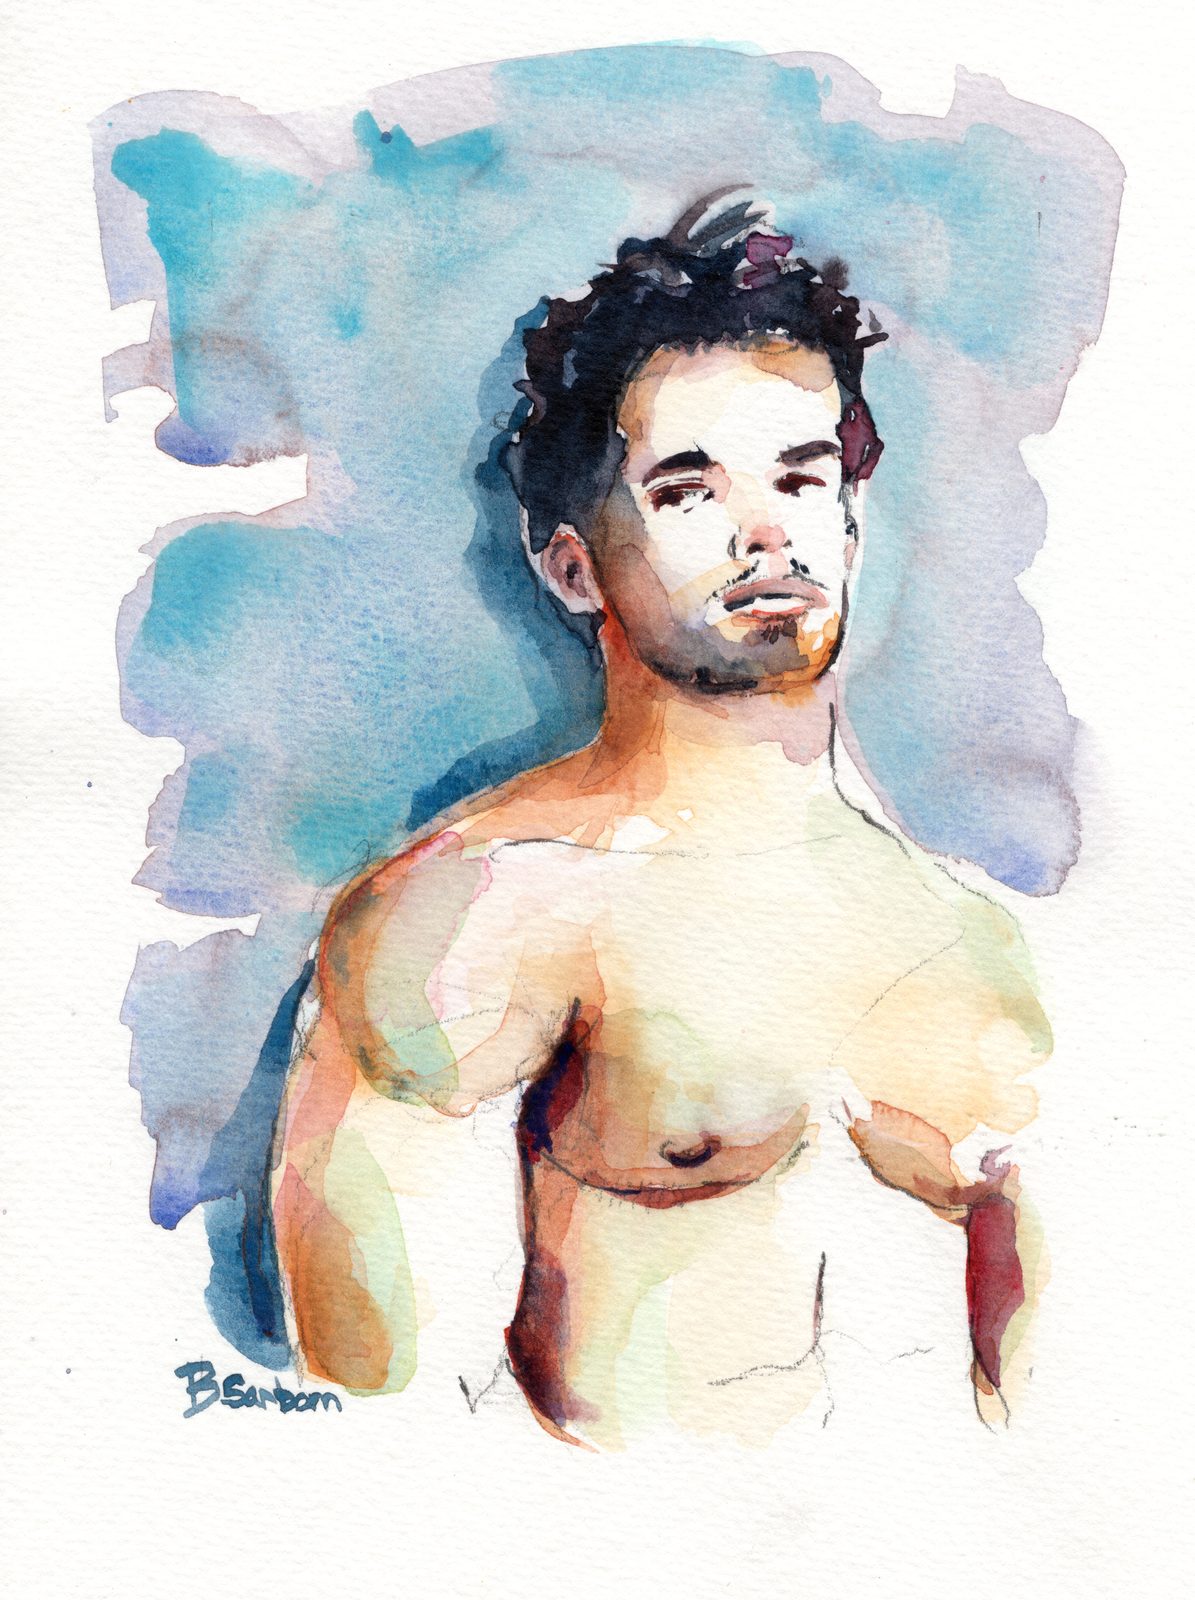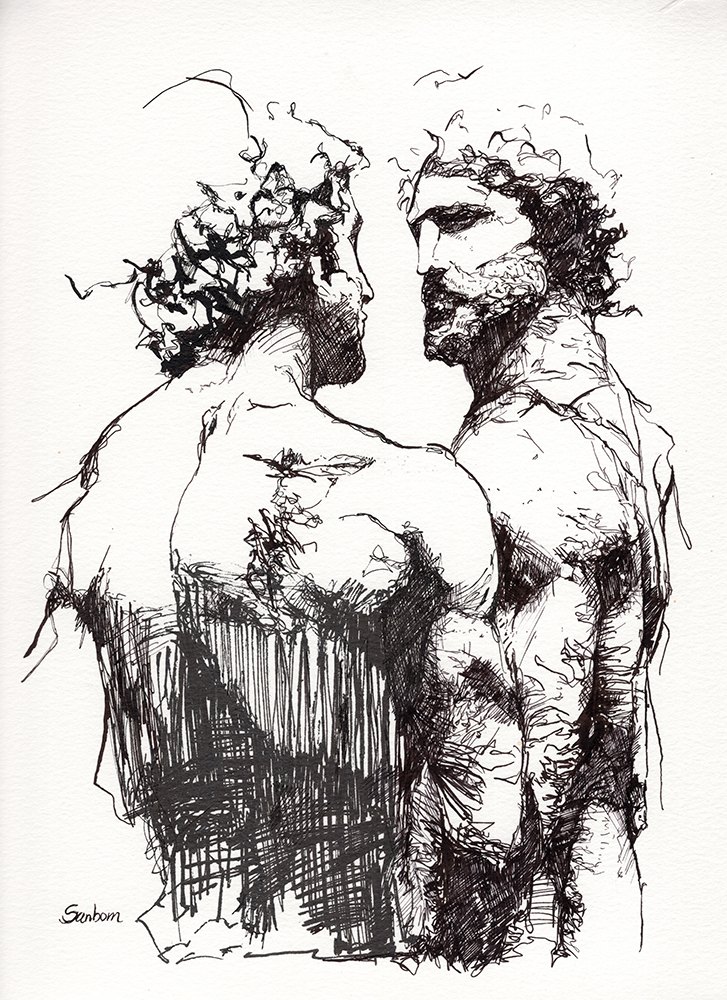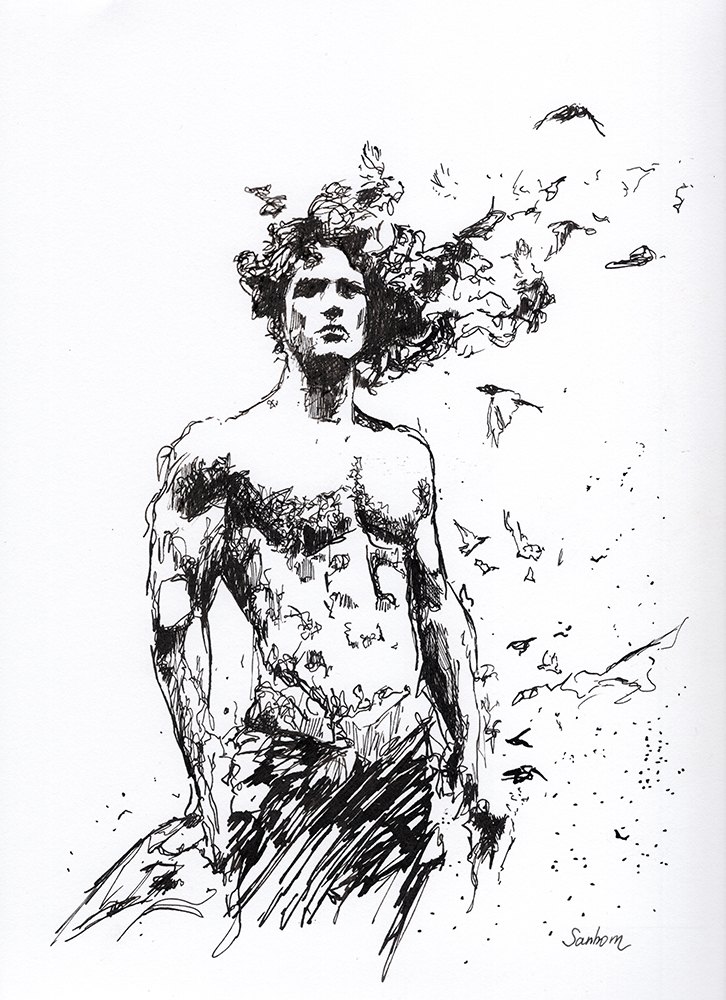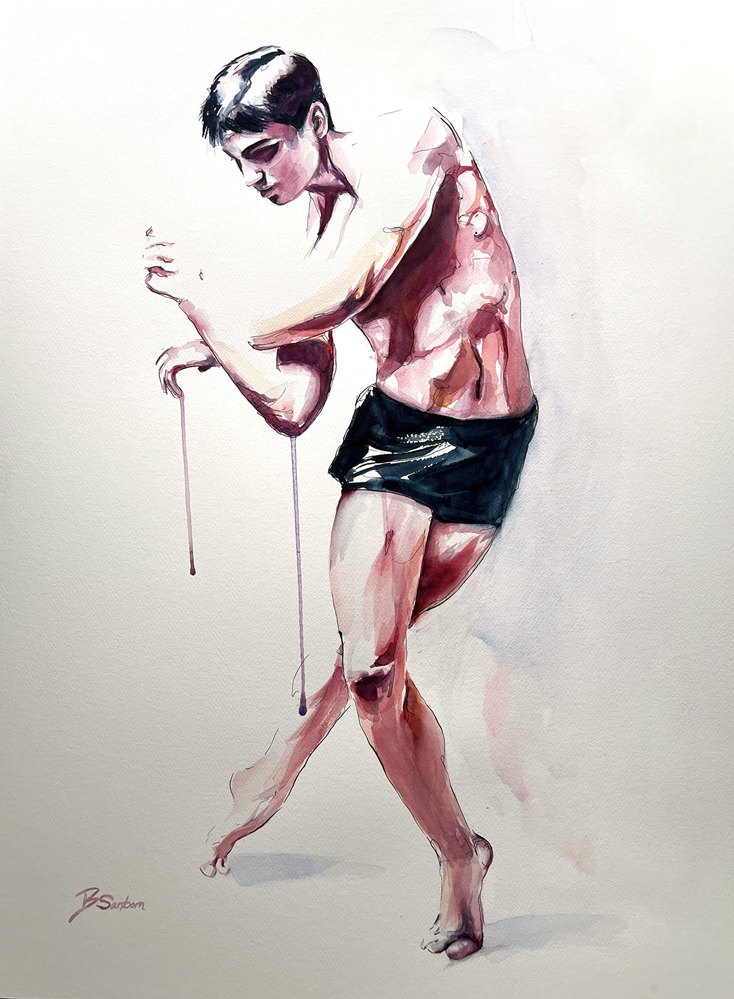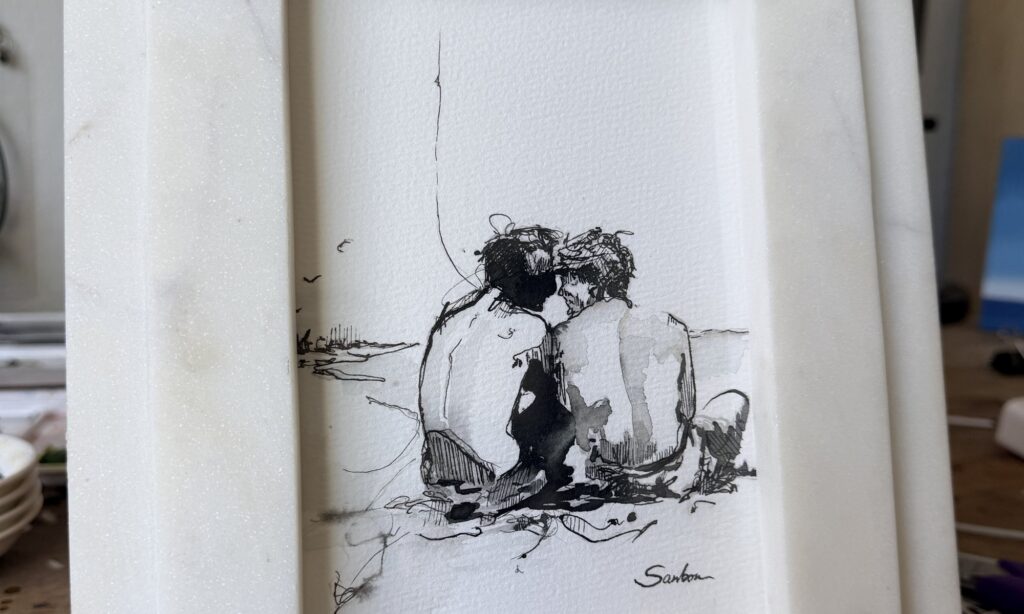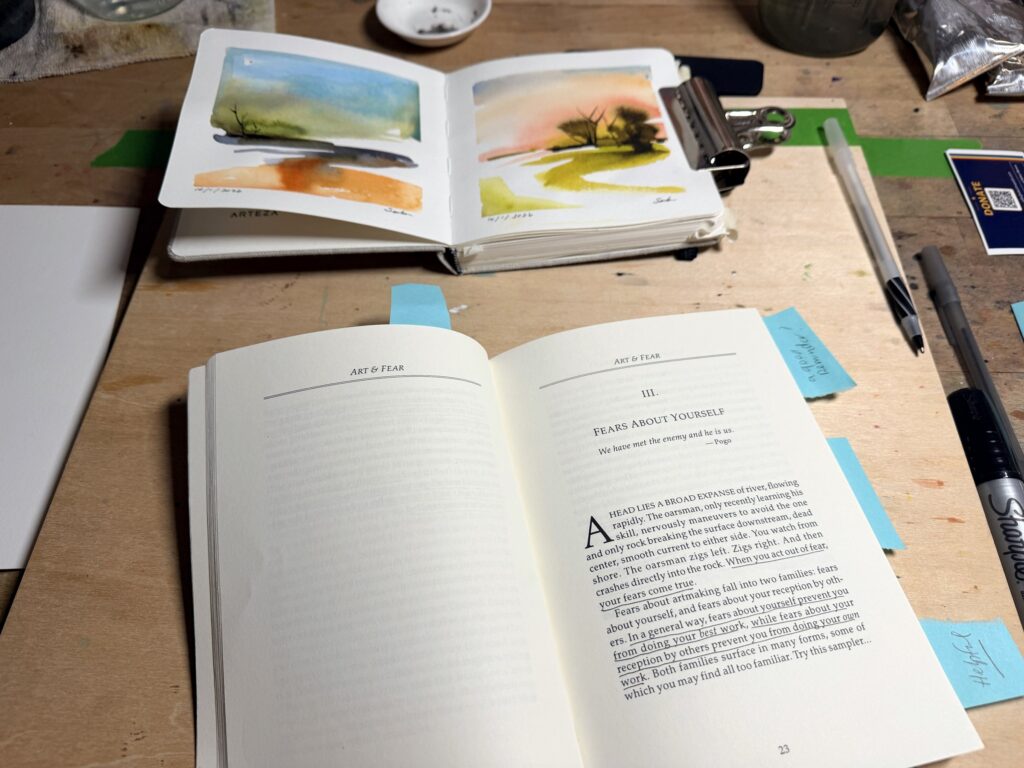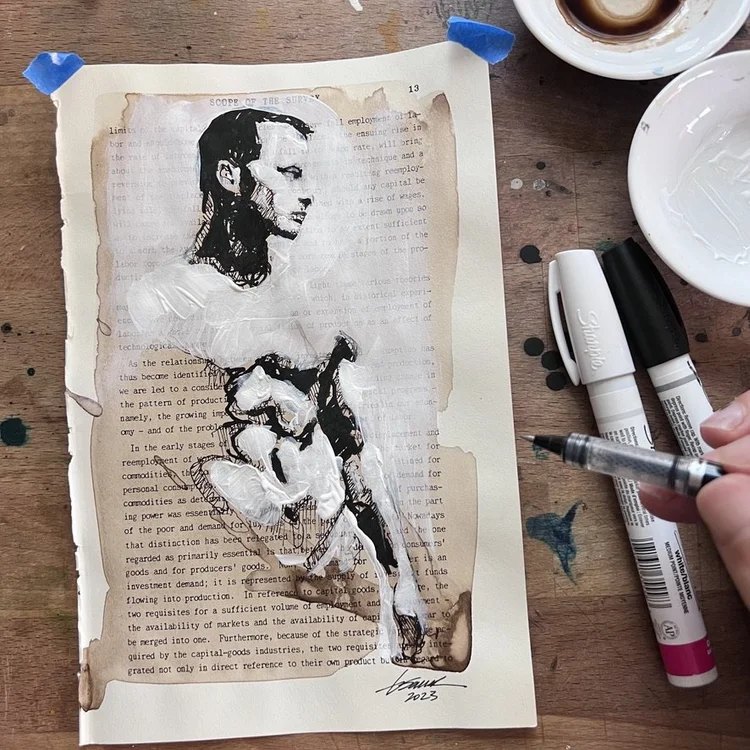


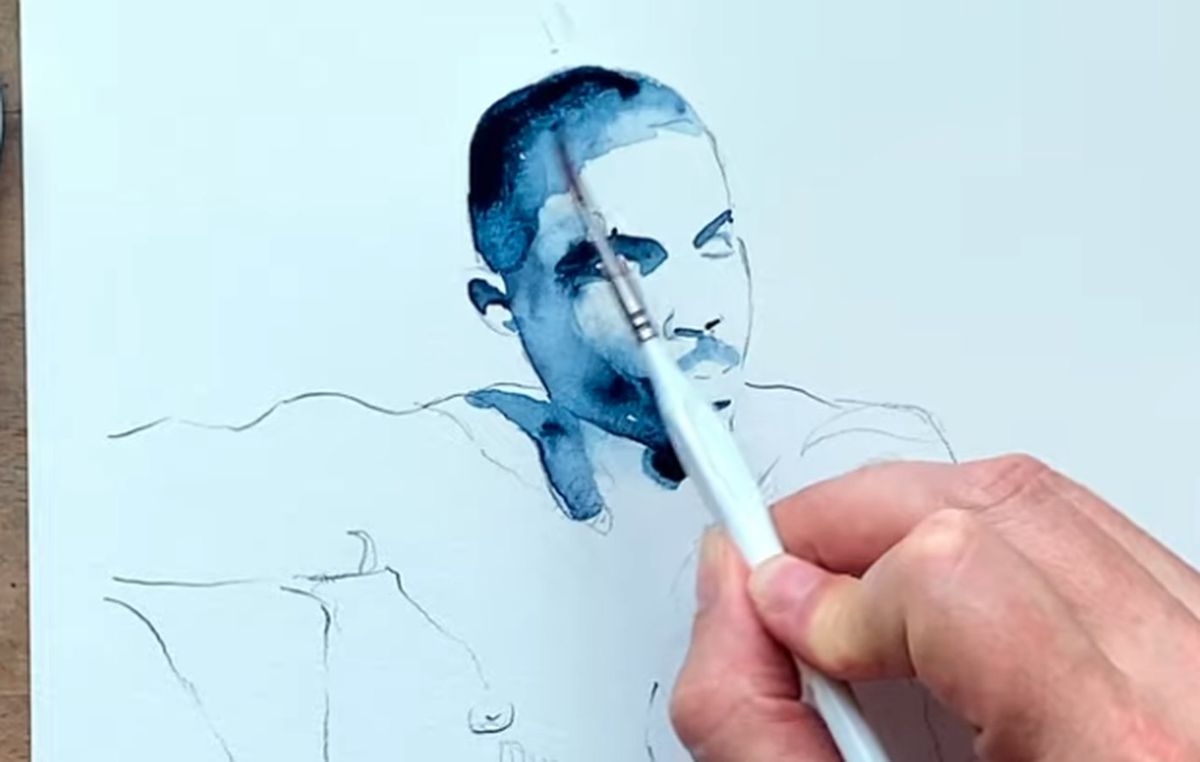
Indigo is my favorite color to paint with. A lot of artists stay away from it because it takes over everything it touches. That’s exactly why I love it. For a one color portrait, that strength is all you need.
Painting with one color takes away the guesswork about which colors to mix. Every decision is about light and dark: where the shadows fall, how soft an edge is, how much water you leave on the brush. If you’re learning watercolor, it’s one of the best exercises there is. And if you’ve painted for years like me, it’s still one of the most satisfying.
I filmed this whole painting from start to finish. You can watch it on my YouTube channel, and follow along with the steps below.
What you’ll need
- Cold press watercolor paper
- Indigo watercolor paint (tube or pan)
- A few brushes, including a mop brush and a liner brush
- Two jars of water, one for rinsing and one clean
- A pencil and an eraser
1. Sketch it out
I started with a pencil sketch from a photo I took years ago. I pressed harder than most watercolorists would, partly so the lines show up on camera, and partly because I like seeing the pencil in the finished piece. It feels more honest to me, more contemporary. If you’d rather keep it clean, sketch lightly.
2. Get your paint ready
I used tube paint for this one. Indigo is dark and rich, so a little goes a long way. If indigo isn’t your thing, ultramarine or a turquoise work beautifully for a one color painting too.
3. Lay down the first wash
Wet the paper lightly and float in a pale wash of indigo. I started around the eyes and slowly worked outward. Keep this first layer light. You can always go darker, but it’s very hard to come back from too dark.
4. Build the layers
Load more pigment on your brush and layer it over that first wash. This is where I let the paint lead a little. When water and pigment meet, you get blooms, those soft flowering edges that you can’t plan. A lot of people try to fix them. I leave them in. They’re the part that makes it look painted by a person.
5. Bring in the detail
Switch to a liner brush for the fine work, and spend most of your time on the eyes. In almost everything I paint, the eyes carry the story. Let each layer dry before you go back in, so you build depth without lifting what’s underneath.
6. Push the shadows
Now I go to my smallest mop brush to deepen the shadows and soften edges. Don’t be shy with the pigment here. Strong darks next to untouched white paper are what make a one color painting feel alive.
7. Finish it
For the last pass I add a little dry brush texture and pull some of the blue out into the background. I leave parts of the paper bare on purpose. That back and forth between the figure and the space around it is what holds the whole piece together.
A few things I’ve learned
- Let it surprise you. The rules are there to break once you know them.
- Learn your materials. Once you know how your paper and brushes behave, you can predict what the water will do.
- Be patient between layers. Drying time is where the depth comes from.
- Play with water. Try different amounts of water to paint and see what each one gives you.
One color paintings teach you more about value than anything else I know. Give indigo a try, and if you paint along with the video, I’d love to see what you make.